Wednesday, October 19, 2011

Existing Trolleys and Accessories

Some more research done earlier relating to the trolleys that people have in their houses and the products/ items that you house in it.


Tuesday, October 18, 2011

Model


Materials Used:
- Teak Wood
- Leatherite
- Thread for stitching
- Thin gatta
- Dunlop ( Glue)

Friday, October 14, 2011

Wednesday, October 12, 2011

3rd Review Meeting : Minutes and Feedback

3rd Diploma Review Meeting: 11/10/11 ; 45 mins

Those Present:

Kriti, Meena, Jyothsna, John


Work Shared:

- Samples of moulded and stretched leather.

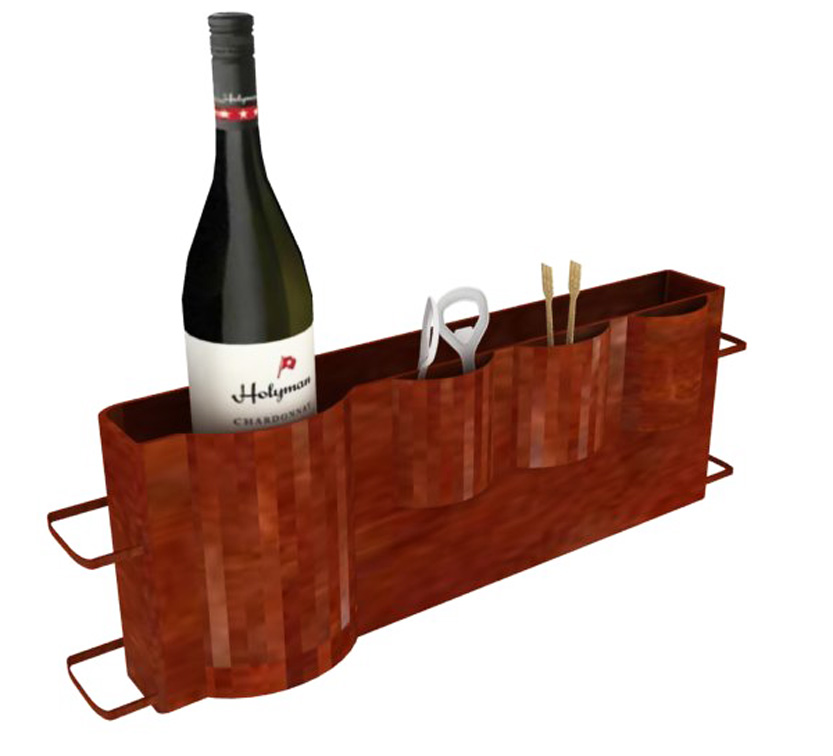
- Prototype of trolley in wood and leatherite.

- Experiments to decide the optimal temperature and method at which leather is moulded and stretched.

- Answer to question ‘why leather’: leather cladding prevents termites and warping and stains from water spills. It also fits the vintage look.

- Sketches of Moulded pocket and moulded wine rack ( Approved) Medium: AutoCad and Sketchup

- Rough Costing

- Blog Content and Flow ( Documentation)


Feedback: From Meena and Jyothsna

- Use a thermometer to find the optimal temperature at which the leather stretches.

- Have a railing around the middle shelf to make the surface more usable.

- Have a good balance between the leather and the wood so that it looks visually cohesive and aesthetically pleasing

- Pocket at the back is good.

- Consider what the cost of the product is and how you have worked to make the product cost effective.

- Mention how you have developed on the properties of the material in the course of your project, how you have experimented with it and what you have learnt.

- There’s still a fair amount of work to do. So far you have kept to timelines well and produced good work – continue to do so.

- Keep up the good documentation work.


Meeting with John : 30 mins

- Adding a slider tray to keep the small items, just a 1.5 inch height tray, NOT a drawer.

- Decided what wood ( type and thickness) appropriate and polish to use.

- Autocad ok

- Try extending the handle to fit ergonomics.

- Try using araldite to harden leather, or use thin sheet metal embedded in two skins to create stiffness.

- Explorations are yours and are good, do the pocket and the wine rack as explorations and then test and see if they speak in the same design language.


Next Stage

- Final prototyping

- Finishing

- Costing


Sunday, October 9, 2011

Leather Moulded Wine Rack : Detachable


Vegetable Tanned Leather Moulded into a Wine rack, screwed onto the wooden side with studs to house bottles.

Leather moulded pocket : Detachable


Vegetable Tanned Leather with moulded pockets strapped on to the trolley

Friday, October 7, 2011

Leather Moulded Wine Rack/ Slider ( Detachable)


Design Details of the mould and the leather attachments..


Leather Moulded Pocket ( Detachable)


Leather Moulded pocket which is detachable, with design details such as stitching, stud work, strap and button details.

Monday, September 26, 2011

Component Explorations...

Moulded Leather Drawer Forms and Fixing Details


Form Moulding Details


Some Part Details

Stitching


Loop and ring


Coasters

Sunday, September 25, 2011

Cuir Bouilli / Hardened Leather

Just a few words on this. "Cuir Bouilli" - the term may have undergone changes in meaning depending on when and where it was used.
So, Leather boiled or soaked in hot water, and, when soft, moulded or pressed into any required form, on becoming dry and hard it retains the form given to it, and offers considerable resistance to cuts, blows, etc.
The word was in common English use from 14th to 16th century, after which it is not found till modern times, when it appears as borrowed from modern French.

So how do I make "Cuir Bouilli"
- Simple Soaking
- Hot water Soaking
- Boiling Water Soaking
- A Variation of boiling water Soaking

Simple Soaking

- The first, and the easiest, is to soak the leather in cold water (as long as you want to, suggestions range from 15 minutes to 12 hours or longer) then form it and let it dry. Soaking leather to make it harder is really more appropriate for vegetable tanned leather.


Hot Water Soaking


The hotter the water you soak it in, the harder it will be when it dries. However, each bit of leather has it's own point at which the water is TOO hot, and will be cooked by it. If this happens, your best bet is to keep it hot, and stretch it out on a form and let it dry.


- Boiling Water Soaking

If you decide that you want to place your leather into boiling water, be prepared to have your leather shrink and harden very quickly. Thus making it very hard, but very brittle.. ( like a papad). So this is not the best option to take while you are experimenting.


- A Variation of boiling water Soaking

After trying multiple ways of moulding the leather and trying to acheive a specific kind of hardness, I tried a variation in my experimentation which would be placing the whole form you are working with and keeping it in the boiling water for not more than about 2 minutes.

What this does is to cause chemicals in the leather to liquify and polymerize and thus it shrivels into plastic hardness, giving you a relatively hard surface.
BUT, because every skin has a different molecular structure, every skin behaves differently once you dip it in hot or cold water. So chances are possible of you receiving an unexpected result.. Dont lose heart.. Keep trying.. !!


Let the leather cool and dry on the former itself.


Sunday, September 18, 2011

Review Meeting and Feedback

Review Meeting 2 : 15th Sept, Thursday ( 45 minutes)

- So in my meeting, I began with showing on the changes I had to make from the feedback i got in my last meeting, Such as clarifying the meaning and time period of the word Vintage, and also my target audience.

- Then I showed my colour palattes, tonality board and other necessary research points.
- After I showed all the explorations I had done in leather, including moulding of leather.
- All iterations I had done in designing a mini bar, followed by a client meeting where I decided to not design a mini bar but something different and came on to designing a " bar trolley".
- Followed by sketches of bar trolleys.
- Sketchup models of chosen designs.
- AutoCad drawings and details of chosen trolley.

The feedback given was:

- Click pictures of existing trolleys you see in and around the place and sort of visualise where what will go in terms of the items you will place on the trolley, such as glasses, bottles, coasters, ice bucket etc.
- Need to bring a relationship between leather as a material and the design. It’s not just a matter of cladding the wood with leather but showing how leather is the best material for this design.
- Also in the design make sure ergonomically that the bottles dont fall, while the trolley is being rolled.
- Continue moulding and try ways of not making it brittle.
- Try making the trolley not look so "wooden".
- So the final design was selected with now going on to the prototyping stage.

Tuesday, September 13, 2011

BAR TROLLEYS..

The first two designs were chosen by the client, though there are other possibilities such as the following..